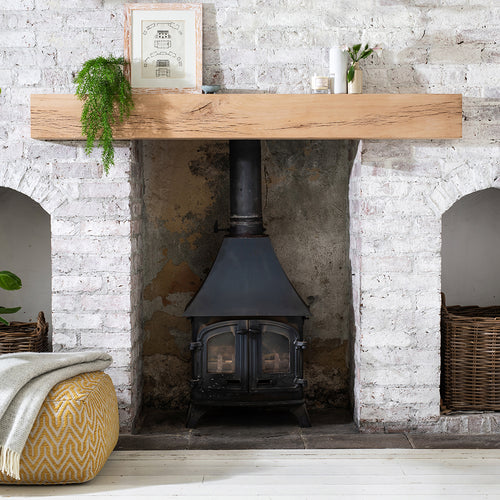
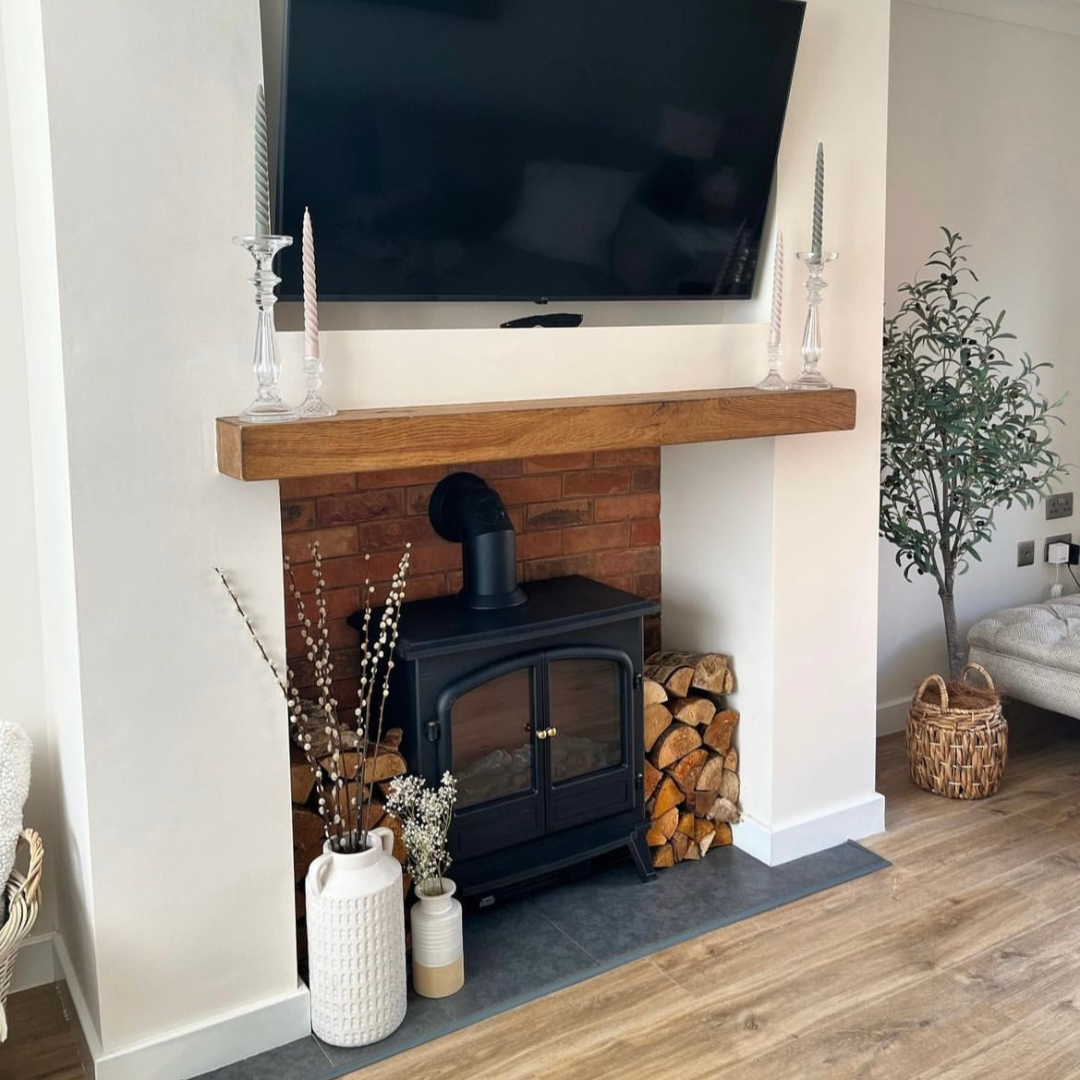
At Funky Chunky Furniture, we’ve made sure that it is really easy to install our oak and pine mantels so that you can achieve a look that is perfect for your home.
It’s a job you can do with just one person, however for larger mantels for example our Oak Mantel Collection we would recommend another pair of hands!
Follow our simple step-by-step guide to installing your oak and pine mantels at home.
Watch Jordan, our workshop supervisor, show you how to install our mantel shelves on a brick wall.
What Will I Need to Install Oak & Pine Mantels?
To install our oak and pine mantels on a brick wall, you will need:
- Drill
- Spirit Level
- Pencil
- Tape Measure
- Hammer
In your mantel packaging you will find the steel screws and wall plugs necessary to install your oak and pine mantels at home.
Step-By-Step Guide: How to Install Oak and Pine Mantels

Step 1
First, you need to decide where the mantel is going. Use a spirit level and your pencil to draw a level line on the wall, no bigger than the mantel you're fitting.

Step 2
Mark where the centre point is and then measure the distance between fixing points on the back of the mantel.

Step 3
You can then transfer these measurements onto the wall.

Step 4
Drill the holes, and put in the universal wall plugs, then hammer them flush.

Step 5
Next, screw in the screws, leaving the heads sticking out enough to install the mantel.

Step 6
Then, install the mantel on the fixings.
For more information about fitting your shelves, please refer to the instructions sent with your shelf or visit our website.
Looking for inspo on how to style your new mantel? Take a look at our Mantel Makeovers or style blog.
